| Warning | ||
|---|---|---|
| ||
Students can only Apply changes to your OLA once it has already been approved by both the sending and receiving HEI. |
To modify your OLA you need to:
1. Go to the page for the Table you want to apply changes to (either table A or B, or both, one after the other).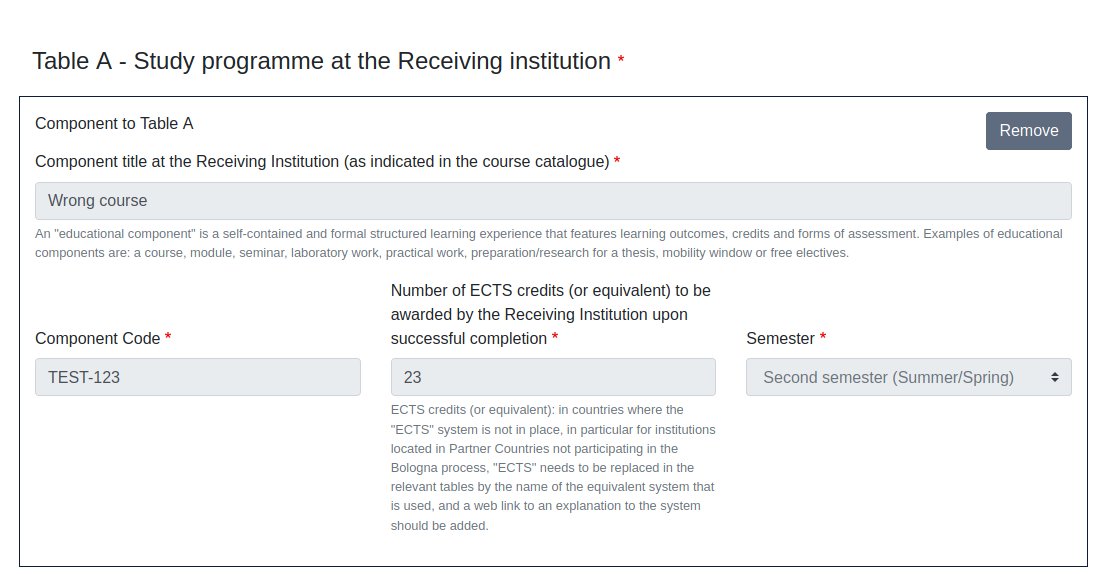
2. Click on Add component Final Table A2, the red button not the grey one.

| Info | ||
|---|---|---|
| ||
It doesn't matter if you want to delete or add courses, you still need to click on Add component. You will be able to choose if you are adding or deleting courses later on. |
Do you need to:
| Expand | |||||
|---|---|---|---|---|---|
| |||||
3. Copy and paste all data from the course you want to delete from Table A - Study programme at the Receiving institution to Final LA Table 2. 4. Choose Deleted from the dropdown menu. 5. Choose a reason for deletion. Once you are done, you can either click on Add Component Final Table A2 to delete (or add) another course or you can simply click on Next if you are done.
|

| Expand | ||
|---|---|---|
| ||
3. Write in name, code and number of ECTSs of the course you want to add. 4. Choose the semester. 5. Choose Added from the dropdown menu. 5. Pick a reason for addition. Once you are done, you can either click on Add Component Final Table A2 to add (or delete) another course or you can simply click on Next if you are done.
|

| Tip | ||
|---|---|---|
| ||
You can both add and delete courses in the same session, if you need to do so, without having to apply changes multiple times. |
...